
About 2 years ago we bought a caravan from a fellow community member. It had been a Reno project on hold for them but after a close shave with a grass fire that managed to melt the indicators, some of the perspex windows and the plastic wheel arch covers, they decided to move it on. As we were looking for a caravan to become our guest accomodation, we made an offer, they agreed and we became the proud new owners of a 6 meter long caravan. The great thing about buying it from a community member was that it was a short tow from their block to ours using the community tractor.
Before we moved it though, we needed a place to park it, so our neighbor Ben, excavated a pad with his excavator. It took about 6 hours from start to finish. “A bit quicker than digging it by hand”, he liked to remind me as he worked. I could only agree whole heatedly.
Once that was done, we ferried the enormous beast to it’s new home.
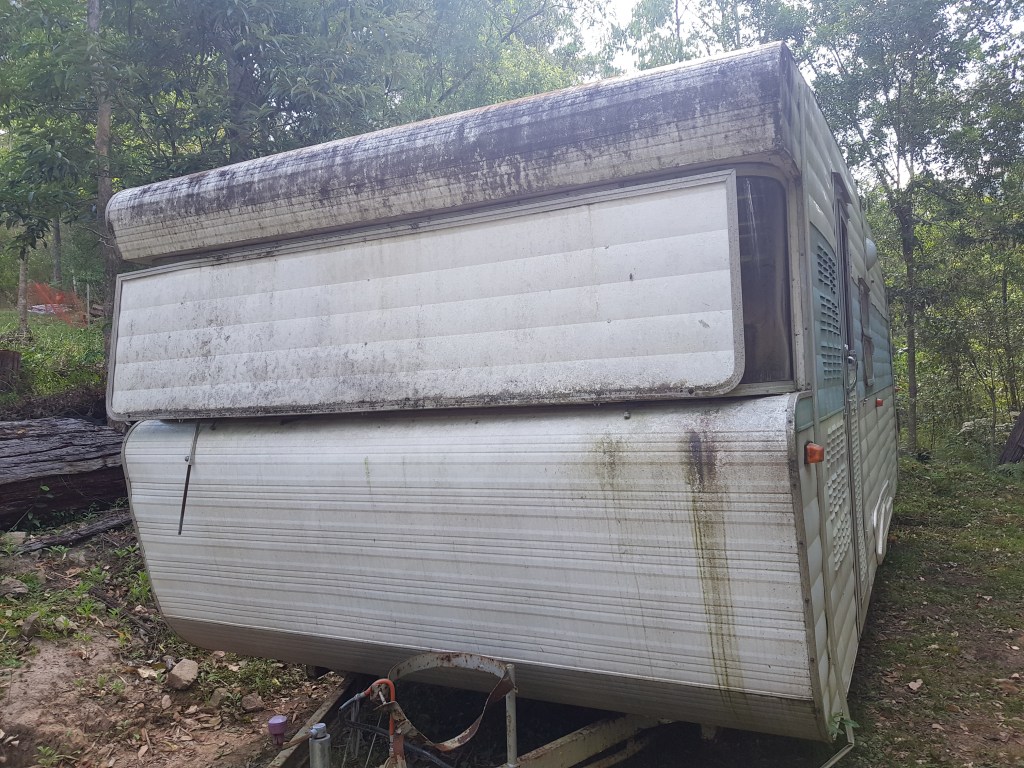
I intended to give it a fresh coat of paint, so started washing it. To my surprise, the powdery outer layer washed off to reveal quite a nice under layer, which was a definite improvement. Always keen to knock unnecessary jobs off the list, I decided it was job done.
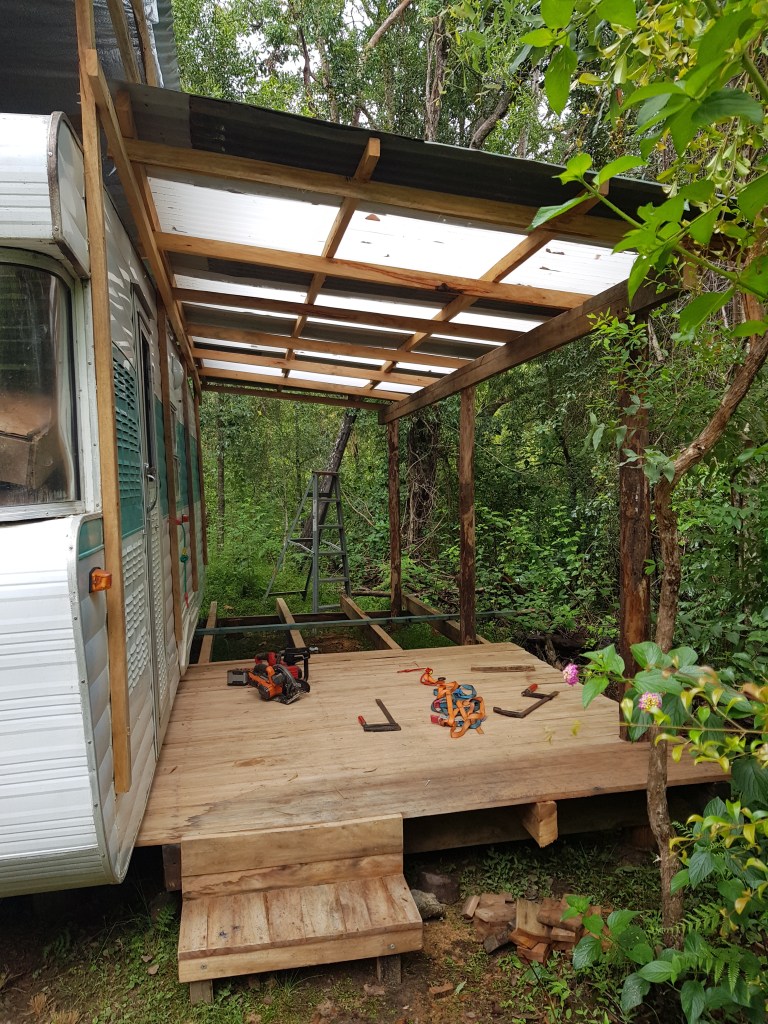
The interior contained some plywood panels, couch cushions and insulation that we’re worth salvaging but needed removal so that I could work on the interior. Besides that, I needed to weather proof the caravan, so I decided to build an exterior roof and additional awning to cover the deck that would run along the entire northern length. This would be where I could shelter materials and tools and also work in inclement weather.
I was grateful to be able to mill all of the timber I needed for decking and framing from trees that were previously felled for safety reasons, only meters away from the caravan site.

With the shelter up, I could now go to work on the interior. Years of having a leaky roof and a community of rats squating inside had taken its toll. It required gutting right down to, and including, the subflooring. What was salvageable was stored under the awning and the rest was taken to the tip. (The old subflooring has already come in use as the new cookhouse floor.) The absolute best thing going for this caravan was it’s aluminum skeleton. This meant that, despite it’s rundown appearance, it was absolutely ship shape in its structural integrity.


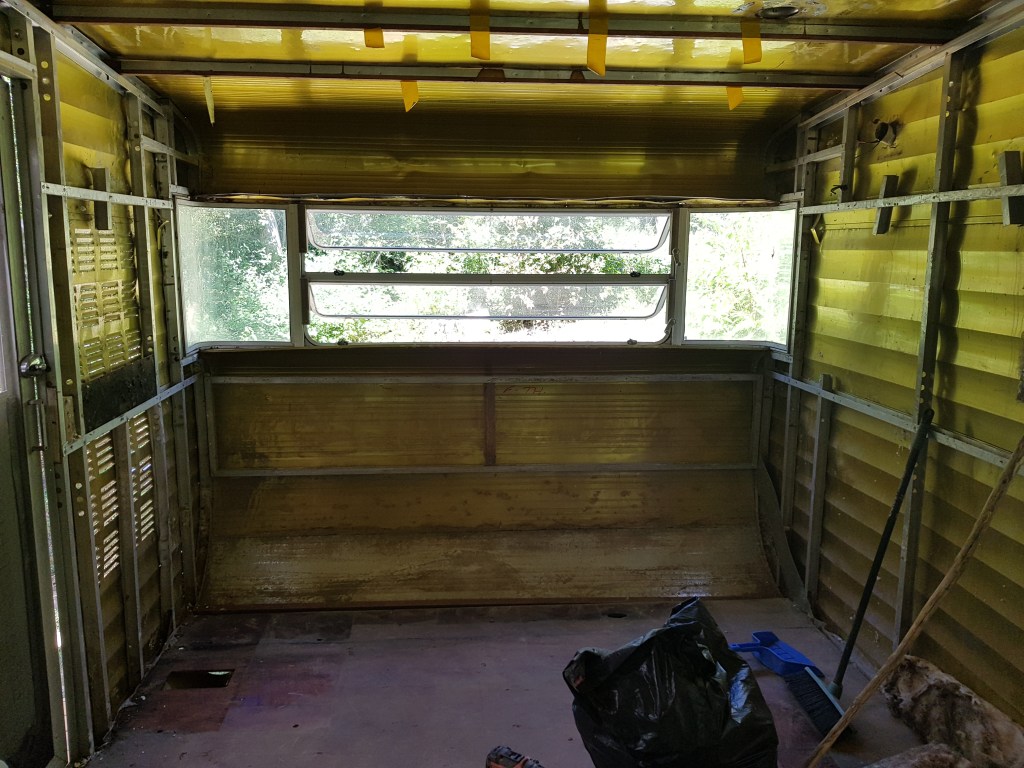
From this point, it was a matter of replacing the floor and then attaching plywood to walls and ceiling after sandwiching in the insulation. A little fun fact about the 2nd-hand plywood is that we bought it from a guy who’s job involved transporting explosives across the country for use in the mining industry. Regulations required that the explosives be contained in shipping containers lined internally with plywood fixed with copper nails. He had so much that he sold it in packs….the plywood, not the explosives.
The other priority was to seal the interior against further wildlife habitation. For this I needed to replace the large windows on the west end that had been damaged in the fire as well as the wheel arch covers that had likewise met their demise.

Once that was done, I installed trim around windows and doors and over the joins where sheets of ply butted up against each other. Vicky and I then painted the walls and ceiling after which I layed floating floor boards.

In all, it was a very big, but also a very satisfying process and the results were stunning, if I do say so myself.

Vix and I sat down, before we had started any of the renovations, and desiged a floorplan. We worked within the limitations of the existing door and window configuration, with the exception that I added one window on the north side for greater natural light and warmth. Now with the inner lining complete, it was time to fill in the spaces. The design was simple: an L-shaped couch down at the eastern end to the left of the entrance, a queen size bed down the other end, a study bench along the southern wall and a kitchen bench along the north wall. A cool hack I’ve come to enjoy using for kitchens and offices is to grab a bunch of drawers to use as the foundations for a bench. I reconcile their height differences by making props to raise the base, paint them all the same colour and hey presto, you have a kitchen cabinet with bench top. We are yet to install the kitchen proper, which will be located outside on the deck.

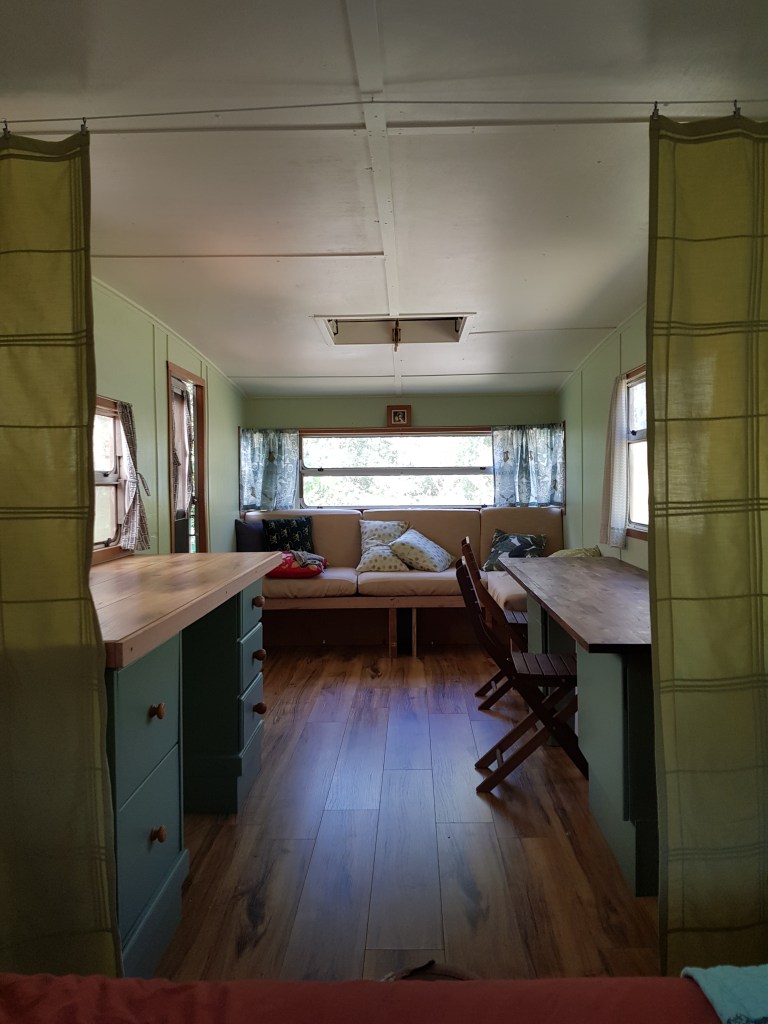
One cool feature of the couch is that it extends out into a good sized bed that could sleep one adult or two kids. The office bench goes as far as the couch, which can serve as a dining table for two, one person sitting on the couch and the other on the office chair.
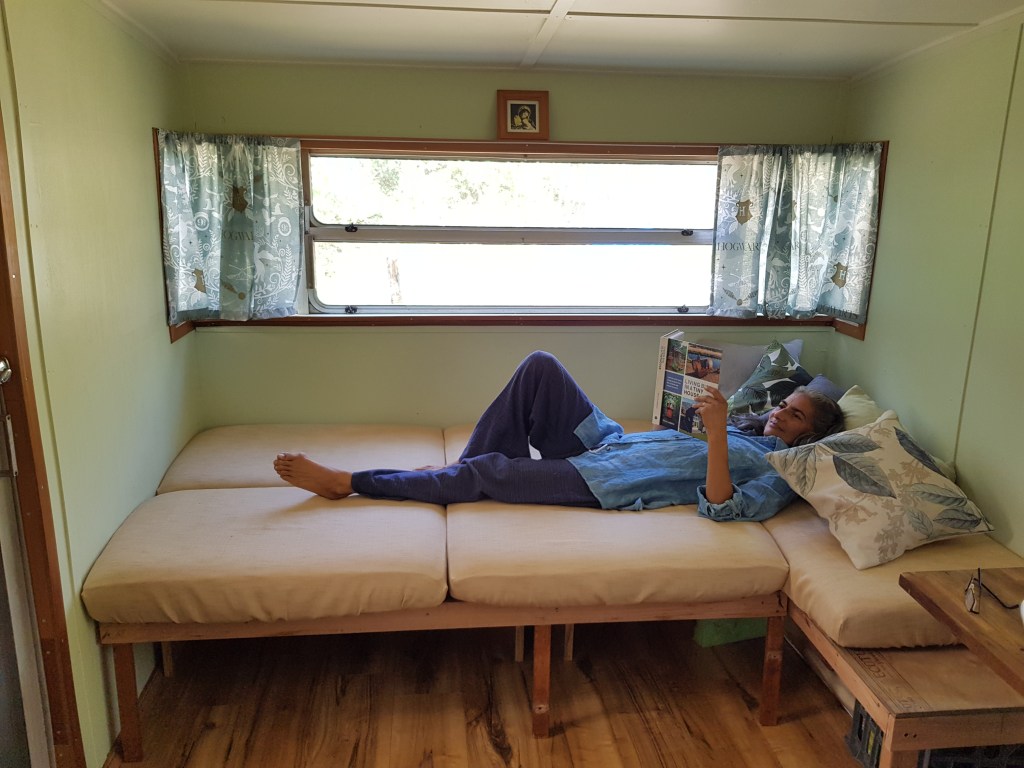
Our next step is to install a basic kitchen on the deck, a composting dunny nearby and some rainwater catchment for a water supply. We then plan to spend a couple of weekends staying in the caravan to get a sense of how it performs as a dwelling and what improvements it might need.
Finally after all that we’ll be ready to receive visitors, whether they be family, friends, volunteer helpers or paying guests. Having said that, we’re already loving having the extra space for Grace to have sleep-overs with friends, Vix to have a place where she can spread out her crafts to work on and me to sit back on the couch and admire the job I did on the west windows.
